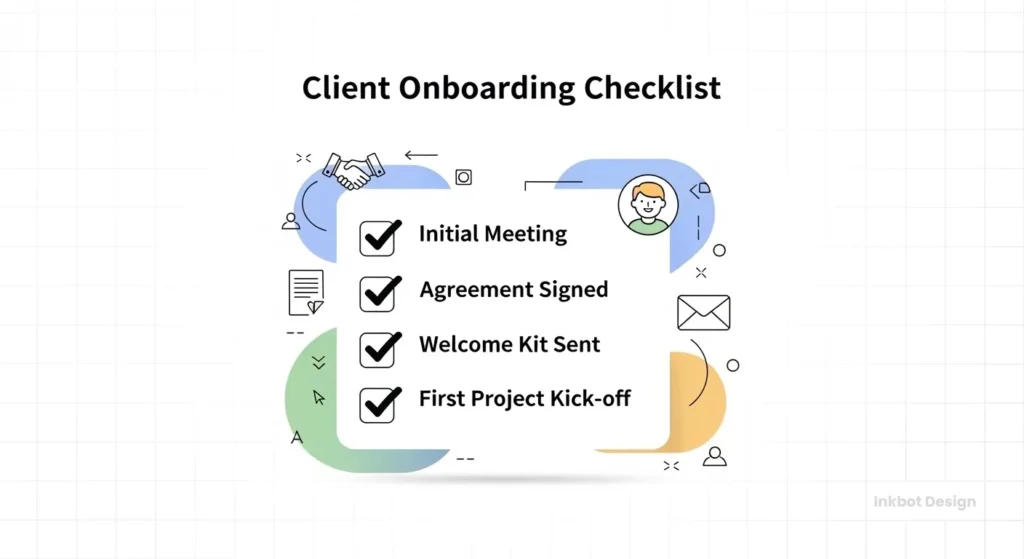
The Client Onboarding Checklist: How to Automate Trust
Most agencies lose the client before the first pixel is pushed or the first line of code is written. They lose them in the “Gap.”
The Gap is that terrified silence between the client signing the proposal and the actual work beginning. In that silence, “Buyer's Remorse” festers. The client wonders if they have made a mistake. They wonder if you are actually good at what you do, or if you were just good at selling.
If you do not fill that silence with immediate, authoritative structure, you have already lost control of the relationship.
Client onboarding is not about being polite. It is not about sending a fruit basket or a generic “Welcome aboard!” email. It is a risk management protocol. It is the specific period where you train the client on how to treat you. You establish the boundaries, the communication channels, and the consequences of delay.
If you are looking to start an online business or scale an existing agency, your onboarding process is the single most significant predictor of your project’s profitability. A poor onboarding process guarantees scope creep, late content, and midnight WhatsApp messages. A robust one guarantees high margins and respect.
This is not a list of nice-to-haves. This is an exhaustive, forensic breakdown of how to structure a client onboarding checklist that protects your time and secures your bottom line.
- Secure legal and financial commitment first: signed MSA/SOW and cleared deposit before any project work or scheduling.
- Immediately assert authority with a Welcome Packet, Magic Link booking and clear communication rules to prevent buyer’s remorse.
- Automate data collection and workflows (Typeform, Calendly, Zapier) to extract assets, set a client portal, and prevent scope creep.
What is a Client Onboarding Checklist?
A client onboarding checklist is a standardised operational procedure (SOP) used by service providers to transition a prospect into a paying client. It encompasses every touchpoint from the moment the contract is signed to the official project kick-off meeting.
Effective onboarding serves three distinct functions:
- Legal & Financial Security: ensuring contracts are countersigned and deposits are cleared before resource allocation.
- Resource Aggregation: gathering all necessary assets (logins, brand guidelines, copy) into a central repository.
- Client Education: teaching the client the rules of engagement (e.g., “We do not answer emails on Sundays”).
The 30-Day Rule: According to research by Bain & Company, increasing customer retention rates by just 5% increases profits by 25% to 95%. The first 30 days of the client relationship—the onboarding phase—are the most critical for retention. If the start is rocky, the client is already looking for the exit.
Phase 1: The “Gatekeeper” Protocol (Legal & Financial)
Before opening a project management tool or introducing the team, you must secure the business. Many creative agencies, eager to please, begin work on a handshake. This is suicidal. You do not onboard a client until they have skin in the game.
1. The Binding Agreement (MSA & SOW)
The Master Services Agreement (MSA) and Statement of Work (SOW) are non-negotiable.
- The MSA covers the general legal relationship (liability, confidentiality, payment terms).
- The SOW covers the specific project deliverables.
The Agency Trap: Using a single “Proposal” as a contract.
The Fix: Use digital signature tools like PandaDoc or HelloSign. Ensure your contract explicitly defines “Out of Scope” work. If you are doing Brand Identity services, specify the number of revisions. If you are doing web design, specify who uploads the content.
2. The Deposit (The “Go” Signal)
Never schedule a kick-off meeting until the deposit has been received in your bank account.
- Standard: 50% upfront.
- Large Projects (£20k+): 30% upfront, 30% milestone, 40% completion.
We have seen agencies schedule team time, reject other leads, and set up servers, only for the client to ghost them on the deposit. The onboarding checklist must have a “Hard Stop” here. If the money hasn't cleared, the onboarding stops.
3. The Accounting Setup
Once payment is received:
- Set the client up in your accounting software (Xero/QuickBooks).
- Define the billing cycle for future invoices (Net 15 or Net 30).
- Automate the next invoice reminder. Do not rely on your memory to bill them next month.
Phase 2: The “Psychological” Welcome (Immediate Impact)
The moment the deposit clears, the “Buyer's Remorse” timer starts. You must immediately validate their decision to hire you. This phase is about speed and authority.

4. The Welcome Packet (The Rulebook)
This is the most underutilised asset in agency onboarding. A Welcome Packet is a PDF or a hidden web page that serves as the “User Manual” for your agency. It prevents 90% of future headaches.
What to include:
- Office Hours: State clearly: “We work 09:00–17:00 GMT, Mon-Fri.”
- Communication Policy: “We do not use WhatsApp for project updates. Please use [Project Management Tool] or Email.”
- Response Times: “We aim to respond to all queries within 24 hours.” (This stops them chasing you after 2 hours).
- The “Homework”: A list of things you need from them immediately.
5. The “Magic Link” Email
Send a templated, automated email that contains the Welcome Packet and a link to book their Kick-off Call.
- Tool: Calendly or Acuity Scheduling.
- Why: Eliminates the “Are you free Tuesday at 2?” email tennis. It forces the client to fit into your schedule, reinforcing your authority.
Consultant’s Note: We often see freelance graphic designers skipping this step because they feel it’s “too corporate.” It isn't. Clients want leadership. Structure signals competence. If you act casually, they will treat you casually (i.e., pay you late).
Template: The “Magic Link” Welcome Email
Stop writing this manually. Copy this into your email automation tool.
Subject: Welcome to [Agency Name]! Project [Project Name] Next Steps
Hi [Client Name],
Payment has been received—thank you! We are officially live.
To ensure we meet our launch date of [Date], we must proceed immediately through the onboarding phase.
Your 3 Immediate Action Items:
- Read the Rules: Download your Welcome Packet (PDF) attached. This covers our office hours and communication channels.
- Upload Assets: Use this [Google Drive Link] to upload your high-res logo and brand files.
- Book the Kick-off: Use the link below to select a time for our strategy session.
- [Insert Calendly/Acuity Link Here]
Note: We cannot begin the design phase until the assets in Step 2 are uploaded.
excited to get started,
[Your Name]
Phase 3: The “Data Extraction” (Tech & Access)
This is where projects usually die. You are ready to work, but you are waiting for the client to send the high-res logo, the hosting login, or the Google Analytics access. You must extract this data before the kick-off.
6. The Intake Questionnaire
Do not ask questions in an email. Emails get buried. Use a form (Typeform, Google Forms, or Dubsado).
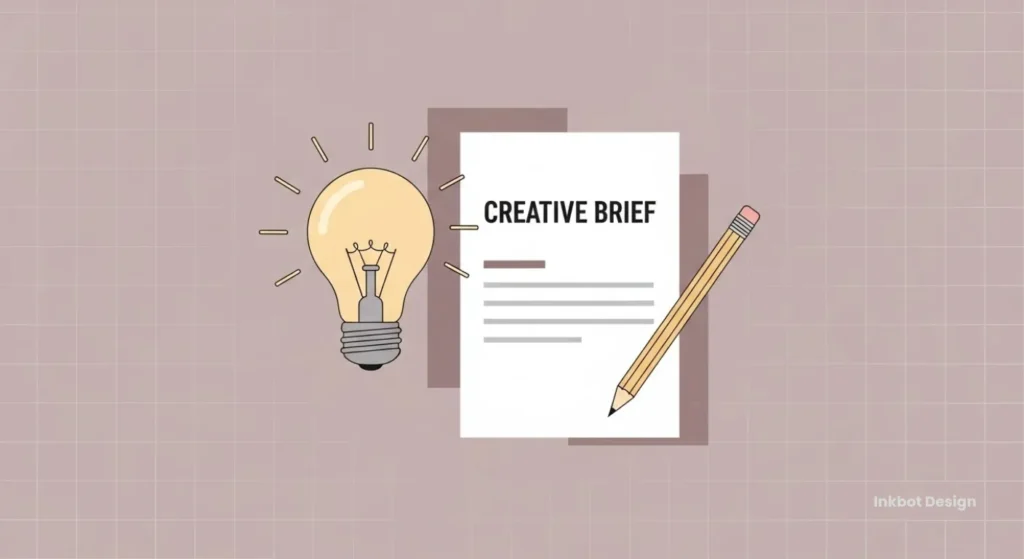
- Design Projects: Ask for competitor examples, brand values, and colour preferences. (See our guide on the Creative Brief for details).
- SEO/Marketing: Request access to Google Search Console, Analytics, and social media accounts.
- Tech: Request domain registrar logins (e.g., GoDaddy, Namecheap).
The 3 “Trap-Door” Questions
Don't just ask for their logo; ask for their brand identity. Ask questions that reveal if they will be a difficult client. Add these to your Typeform:
- “Who is the sole decision-maker for this project?”
- Why: If they list three people, you are in trouble. Demand a Single Point of Contact (SPOC).
- “What is the absolute hard deadline, and what drives it?”
- Why: “ASAP” is not a deadline. “The trade show is on Nov 14th” is an absolute deadline.
- “Has a previous agency failed on this project? If so, why?”
- Why: If they trash their previous designer, they will likely trash you as well. This is your warning to double the “Revisions” clause in your contract.
7. The Client Portal Setup
Create a home for the client. This could be a shared Google Drive folder, a Notion dashboard, or a project in Asana/ClickUp.
- The Psychology: Giving them access to a “Portal” makes the project feel tangible immediately.
- Structure: Create folders for “Uploads,” “Deliverables,” and “Contracts.”
- Access: Send them the invitation link with a strict instruction: ‘Please upload all logos and images to the ‘Uploads' folder by Friday.'
8. The Asset Audit
Once they upload the assets, check them immediately.
- Do not wait two weeks to realise the “logo” they sent is a 5KB pixelated JPEG inside a Word document.
- Check the logins work. Two-factor authentication (2FA) is often perceived as a hindrance to speed. Ensure you have the backup codes or a direct line to the person with the phone.
Phase 4: The Kick-Off Meeting (The Alignment)
The kick-off is not a “meet and greet.” It is a strategic session to confirm the scope and timeline.
9. The Agenda
Never enter a meeting without an agenda. Send it 24 hours in advance.
- Introductions: Who is the main point of contact? One person only. “Design by committee” is a failure.
- Scope Review: Read the SOW deliverables out loud. “Just to confirm, we are building five pages, not 6.”
- Timeline Review: “If you approve the wireframes by date X, we launch by date Y. If you delay, the launch moves.”
- Next Steps: Assign specific tasks to specific people.
10. The “Anti-Scope Creep” Talk
This is uncomfortable but necessary. Explicitly state what happens if they change their mind halfway through.
- Script: “We want to be flexible, but to keep the project on budget, any requests outside of this list will be billed at our hourly rate of £X. We will always warn you before incurring extra costs.”
11. The Post-Meeting Summary
Within 2 hours of the meeting ending, send a summary email.
- “As discussed…”
- List the decisions made.
- List the action items.
- This email is your insurance policy. If, three months later, they say, “I never agreed to that,” forward this email.
The “Wrong Way” vs. The “Right Way”
The primary difference between an amateur freelancer and a scaling agency lies in their approach.
| Feature | The Wrong Way (Amateur) | The Right Way (Pro) |
| Contract | “Sent via email attachment, signed manually.” | Digital signing (PandaDoc/DocuSign) with auto-reminders. |
| Payment | “Pay me when you can.” | 50% deposit required via Stripe/GoCardless before start. |
| Communication | WhatsApp, Text, FB Messenger. | Centralised (Slack/Basecamp/Email) with set hours. |
| Asset Collection | Scattered emails with attachments. | Structured Typeform or Google Drive upload zone. |
| Scope Creep | “Sure, I can add that quickly.” | “That is out of scope. I can send a quote for that addition.” |
| Kick-off | Casual chat over coffee. | Structured agenda, recorded Zoom call, minutes sent after. |
Deep Dive: The State of Client Onboarding in 2026
The landscape of client management is shifting rapidly. We are moving away from manual administration towards “Agentic Workflows.”
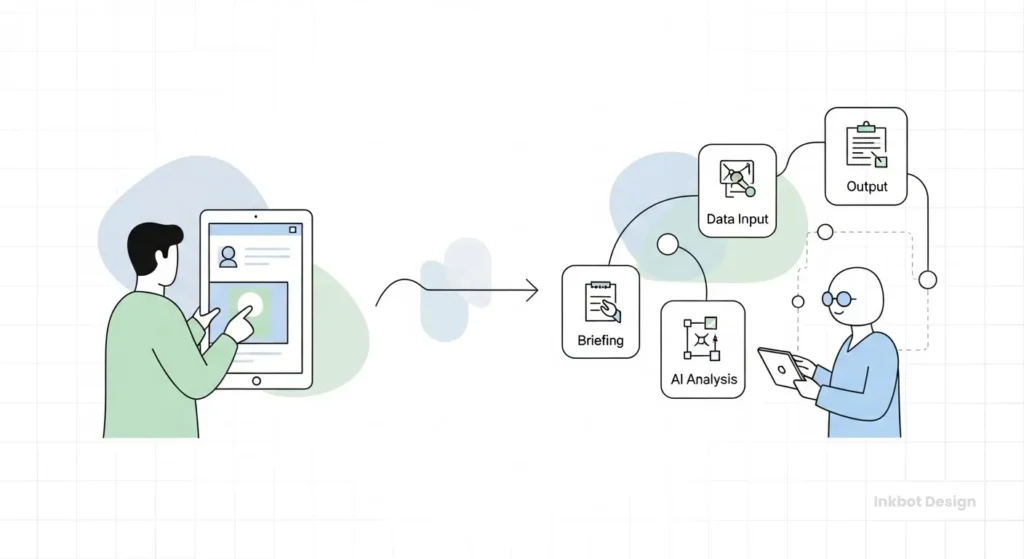
The Rise of AI Onboarding Agents
By late 2025 and into 2026, top-tier agencies will no longer manually send these emails. They are using AI agents (via tools like Zapier, Make, or custom Python scripts) to handle the entire “Pre-Work” phase.
Current Innovation:
- Intelligent Chasing: An AI agent monitors the Google Drive folder. If the client hasn't uploaded the logo by the deadline, the AI sends a polite but firm reminder via Slack or Email, escalating the tone slightly each time.
- Contract Analysis: AI tools can now scan the client's existing website content during the onboarding phase to pre-populate the creative brief, saving the client from having to answer basic questions about their history or services.
If your agency is still manually copying and pasting email templates, you are already behind the curve. The cost of administrative drag is too high. You should focus on how to attract graphic design clients, not on chasing them for a JPG file.
The “One-Click” Onboarding Recipe (Zapier/Make)
You don't need a developer to build this. Here is the exact logic to connect your tools.
- Trigger: Stripe — New Charge Succeeded
- Filter: Only run if Description contains “Deposit”.
- Action: Google Drive — Create Folder
- Name: “[Client Name] – Assets”
- Action: Asana/Trello — Create Project
- Template: Use your “Master Standard Operating Procedure” template.
- Action: Slack — Send Channel Message
- Text: “💰 New Client: [Client Name] has paid. Project created.”
- Action: Gmail — Send Email
- Body: Send the “Magic Link” template (above).
The “Red Flag” Early Warning System
I have audited countless agencies where the owners are stressed, underpaid, and burnt out. The cause is almost always “Bad Client Fit,” and the symptoms were visible during onboarding.
The “Can you just…” Test:
If, during the contract signing or deposit phase, the client asks, “Can you just start on the logo while the finance team sorts the deposit?”, that is a Red Flag.
- Reaction: If you say yes, you have taught them that your boundaries are fake. They will consistently push every deadline and payment date.
- The Fix: You must say, “I’d love to, but our system literally won't let me open a project file until the deposit clears. It’s automated.” (Blame the system. It’s easier).
The “Weekend Warrior”:
If a client emails you at 10 PM on a Saturday during the onboarding phase, do not reply until Monday morning.
- Reaction: If you reply on Sunday, you have just agreed to work every weekend for the duration of the project.
- The Fix: Stick to the office hours defined in your Welcome Packet.
We discuss this dynamic heavily in our Freelance Survival Guide. The onboarding phase is the only time you have maximum leverage. Use it.
Tools of the Trade: The Onboarding Stack
You do not need enterprise software to run a professional onboarding process. Here is a lean stack for SMBs and digital nomads:
- Proposal & Contract: Better Proposals or PandaDoc. (Looks professional, tracks when it opens).
- Invoicing: Xero or FreshBooks. (Automates the chasing).
- Forms & Data Collection: Typeform or Airtable. (Great user experience for the client).
- Scheduling: Calendly. (Stops the scheduling email dance).
- Project Management: Asana, Trello, or ClickUp. (The central source of truth).
- Video Calls: Zoom or Google Meet (Always record the kick-off; AI tools like Otter.ai can transcribe it for the summary).
For those looking to streamline further, consider that the Best Freelancing Websites often have built-in escrow and onboarding tools, though they take a cut of your fee. For direct clients, build your own stack.
The Verdict
A client onboarding checklist is not administrative busywork. It is the structural skeleton of your agency. Without it, you are a jelly—shapeless, easily pushed around, and incapable of supporting weight.
By implementing these strict protocols—contract first, deposit second, boundaries always—you transform from a “service provider” into a “strategic partner.” Clients respect partners; they exploit servants.
If you are ready to professionalise your operation, start by auditing your current process. Where are the leaks? Where is the friction? Fix the onboarding, and the project will take care of itself.
Frequently Asked Questions (FAQ)
What is the most crucial step in a client onboarding checklist?
The most critical step is securing the signed contract and the deposit. Without these, you do not have a client; you have a liability. Never begin work or schedule kick-off meetings until the financial and legal commitment is secured.
How long should the client onboarding process take?
Ideally, the administrative side (contract, deposit, welcome email) should take less than 48 hours. The information-gathering phase (questionnaires, asset collection) typically takes 3-5 days, depending on the client's speed.
What should be included in a client's Welcome Packet?
A Welcome Packet should include your office hours, communication methods (e.g., “No WhatsApp”), expected response times, a project timeline, and a list of immediate “homework” items that the client needs to provide.
How do I prevent scope creep during onboarding?
Prevent scope creep by having a detailed Statement of Work (SOW) signed before starting. During the kick-off meeting, verbally reinforce what is included and explicitly state that additional requests will incur extra fees.
Which tools are best for automating client onboarding?
For most agencies, a combination of PandaDoc (for contracts), Calendly (for scheduling), Typeform (for data collection), and Zapier (for connecting them all) provides a robust, automated onboarding stack.
Should I charge for the onboarding/discovery phase?
Yes. For complex projects, “Discovery” should be a paid standalone service. It involves research and strategy that provides value regardless of whether the whole project proceeds.
How do I handle a client who refuses to pay the deposit?
If a client refuses to pay the deposit, they are no longer considered a client. Do not start work. Politely explain that agency policy requires a deposit to book resources. If they still refuse, walk away. You have dodged a bullet.
What is the difference between a Proposal and an SOW?
A Proposal is a sales document outlining the value and general solution. An SOW (Statement of Work) is a legal document defining specific deliverables, timelines, and technical constraints. The SOW protects you; the Proposal sells you.
Why is a kick-off meeting necessary?
A kick-off meeting aligns the client and the team on the vision, timeline, and responsibilities. It is time to clarify any misinterpretations of the contract and establish rapport before the hard work begins.
Can I onboard clients without a meeting?
For small, transactional services (like a £200 logo fix), yes. For high-ticket retainer or project work, no. A face-to-face (or video) meeting is essential to establish trust and authority.

