
Video Stabilisation: Advanced Techniques for Mastering Motion
The importance of motion is undeniable in the videos. This is what makes the video engaging and keeps the users hooked.
However, the optimum level of stability and movement is highly desirable. Too much motion in the video leads to zero attention-grabbing toward your video. Apart from this, it also contributes to the compelling message conveying or storytelling.
Lack of access to the right tool and technique prevents you from maintaining video stabilisation. You cannot achieve cinematic perfection in your videos this way. If you are a videographer, then this will affect your reputation in the long run.
Avoid this situation and prevent you from wasting your precious time and effort. This article will introduce you to a tool similar in class to the YouTube video editor. Get familiar with the work and utilise this tool to add life to your videos. Keep reading!
- Video stabilisation is crucial for maintaining viewer engagement and effective storytelling in your videos.
- Advanced algorithms and AI technologies significantly improve stability, even in handheld shots.
- Various techniques like optical, digital, and electronic stabilisation cater to different recording conditions.
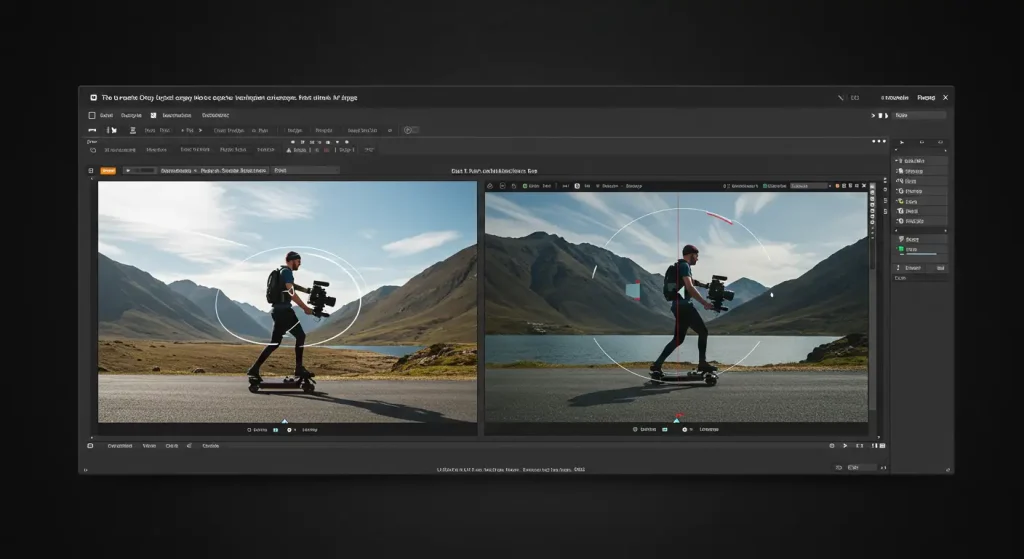
- The video stabiliser tool, such as CapCut, enhances video quality with a user-friendly interface.
Video Stabilisation – Uncovering Insights
Video stabilisation technology has undergone significant advancements over the years.
Initially, mechanical stabilisers such as the Steadicam, introduced in the 1970s, revolutionised how filmmakers managed camera movement. These devices allowed the camera operators to capture smooth shots without requiring large rigs.
Digital stabilisation techniques began to emerge with the advent of digital video in the 1990s. Software applications enabled post-production stabilisation, which provided a new level of precision and ease.
Today, advanced algorithms and AI-driven techniques have paved the way for smartphone cameras and professional gear to deliver exceptional stability, even in handheld shots.
A tool or an app that works on the AI (Artificial Intelligence) algorithm.
The primary role of AI technology in video stabilisers is to remove jitteriness and shakiness and incorporate smoothness and a higher level of stability.
One remarkable thing about the video stabiliser is that you can locate it on the web using any compatible search engine browser. This way, you can scale up your videography.
Types of Video Stabilisation Techniques
Video stabilisation can be achieved through various techniques. Optical image stabilisation (OIS) uses a floating lens to counteract movement, which is perfect for recording in low light or while moving.
Digital image stabilisation (DIS) works by cropping the digital image to remove visible shakes, commonly found in post-production software.
Electronic image stabilisation (EIS) adjusts the sensor's position to stabilise the frame electronically and is often used in action cameras. Each method is suited to different situations, considering factors like lighting conditions and motion type.
Breaking Down Video Stabiliser Functioning – Sequential Steps
The video stabiliser comprises a few steps to pay attention to if you want to use it without any clutter or confusion. The key steps are:
- To access the main page, search CapCut on any search browser. You must access the menu bar on the main page, which features several options. The tool option lies among these options: access and select it. This will move you to the multiple tool categories that CapCut offers. The main tools among these categories include audio, video, and image. If you need to tweak your video, go to the video category and select the video stabilisation tool. Clicking on this tool will lead you to the device's main page.

- Later, following the process, you need to provide the video to the video stabiliser tool to facilitate the processing. You can do this with two different techniques. One is by simply clicking on the upload video tab. You will see this tab when you first access the video stabiliser tool right in front of you. When you click on it, the device opens up a window. This window assists you in selecting the path where you have stored your video. You can easily upload this video if you don't have any video and want to test the tool's results. You can use the template or sample present below the upload video tab. The second way to upload the video is by utilising the drag-drop technique. It is simple, super easy, and fast. Select the video you want to upload and drag it to the upload video tab section. This is how you can complete the action.

- The function's third step involves video tweaking, adjustment, and processing. This makes your video highly professional, smoother, and visually remarkable. The key thing behind this is AI technology. Right after the upload, it instantly processes your video. After a few seconds, you will get your video. You can preview the changes using the video stabiliser.

- The last and final thing you need to cope with when using the video stabiliser is the video download. The export tab will assist you in this regard. It offers multiple options, such as video downloads and even tweaking. Opportunities exist to put the stabilised video on TikTok or use it as an ad. Do whatever you want or like with your video.
Common Challenges in Video Stabilisation
Despite advances, video stabilisation presents challenges, such as the rolling shutter effect. This occurs when fast movements cause the image to distort, as commonly seen in CMOS sensors. Motion blur is another concern caused by movement during exposure while shooting in low light.
Addressing these issues involves using predictive tracking in AI technology to anticipate and correct motion. Understanding your equipment and its settings can minimise these challenges, ensuring stability.
How does this video stabiliser contribute to your satisfaction?
The number of features you can get with this tool contributes to your satisfaction. Here are the features which you need to pay attention to:

Smoother Transitions
Video stabilisers incur higher smooth transitions, conveying high visuals and ensuring effective message delivery. You will not experience any kind of jitteriness and shakiness in the output, which ruins your videos.
Unmatchable Output
You cannot compare the level of video stabilisation that you can get with the video stabiliser. It offers you remarkable output. This is because it contributes to the unbelievable production. Not a single flaw or error you are going to experience with this tool.
Highly Responsive
The interface and the algorithm collectively contribute to the higher-level response of the video stabiliser. You don't need to wait longer to get the output from the tool. Everything is fast and responsive, allowing you to experience intuitive usage.
Simple Design
The design of the video stabiliser interface is highly user-friendly and straightforward. Anyone can understand, regardless of whether the individual is a novice or an expert. This adds up to the desirability of the tool among its users.
Where You Can Fit The Video Stabiliser Usage?
Many work areas exist where you can put video stabilisers to use. Some of the critical areas are as follows:
Instagram/TikTok: Using the video stabiliser, you can edit and stabilise your TikTok videos or Instagram reels.
Online Courses/Lectures: An option exists to use the video stabiliser to smooth the online lectures and courses. This will help deliver compelling messages to the students.
Gaming Content: Use the video stabiliser to facilitate the smoothening of shaky or jittery videos for your gaming content.

